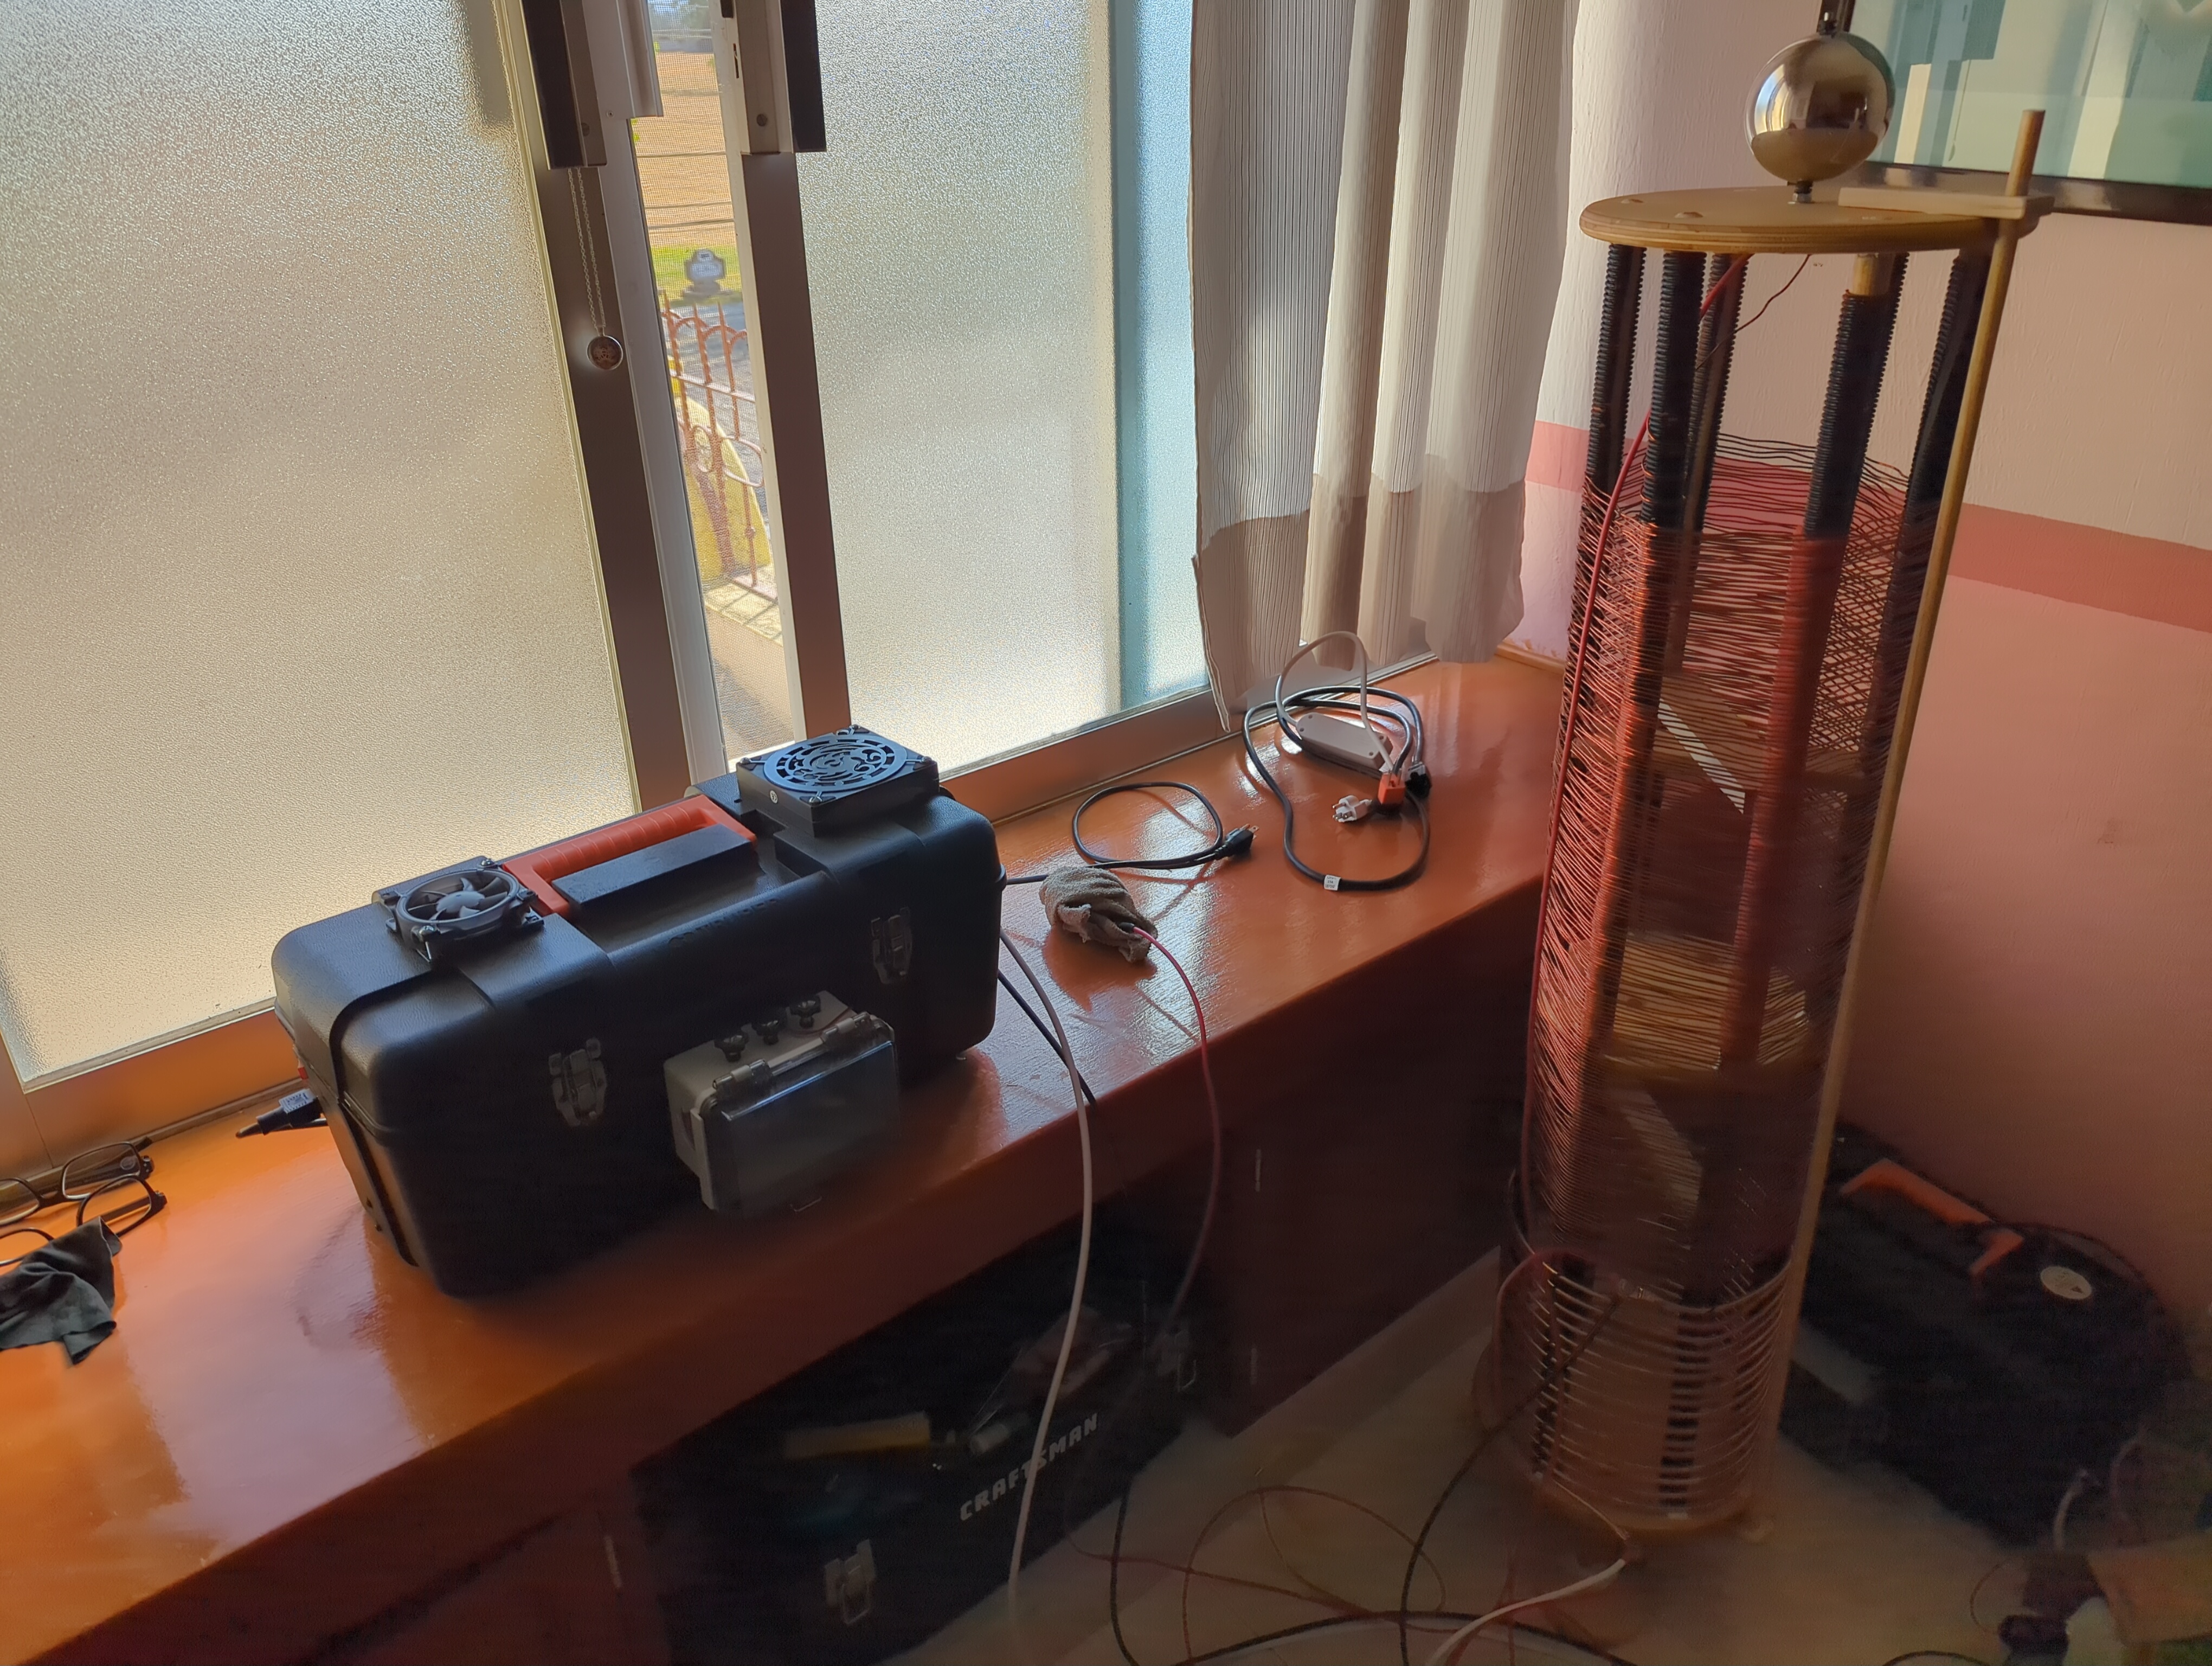
How to build
Welcome to the world of scalar machines!

This instruction manual contains all the information you need to build your machine, including detailed guides for the black hole, pancake coil, and tower.
Please take your time reviewing the instructions and assembling each part.
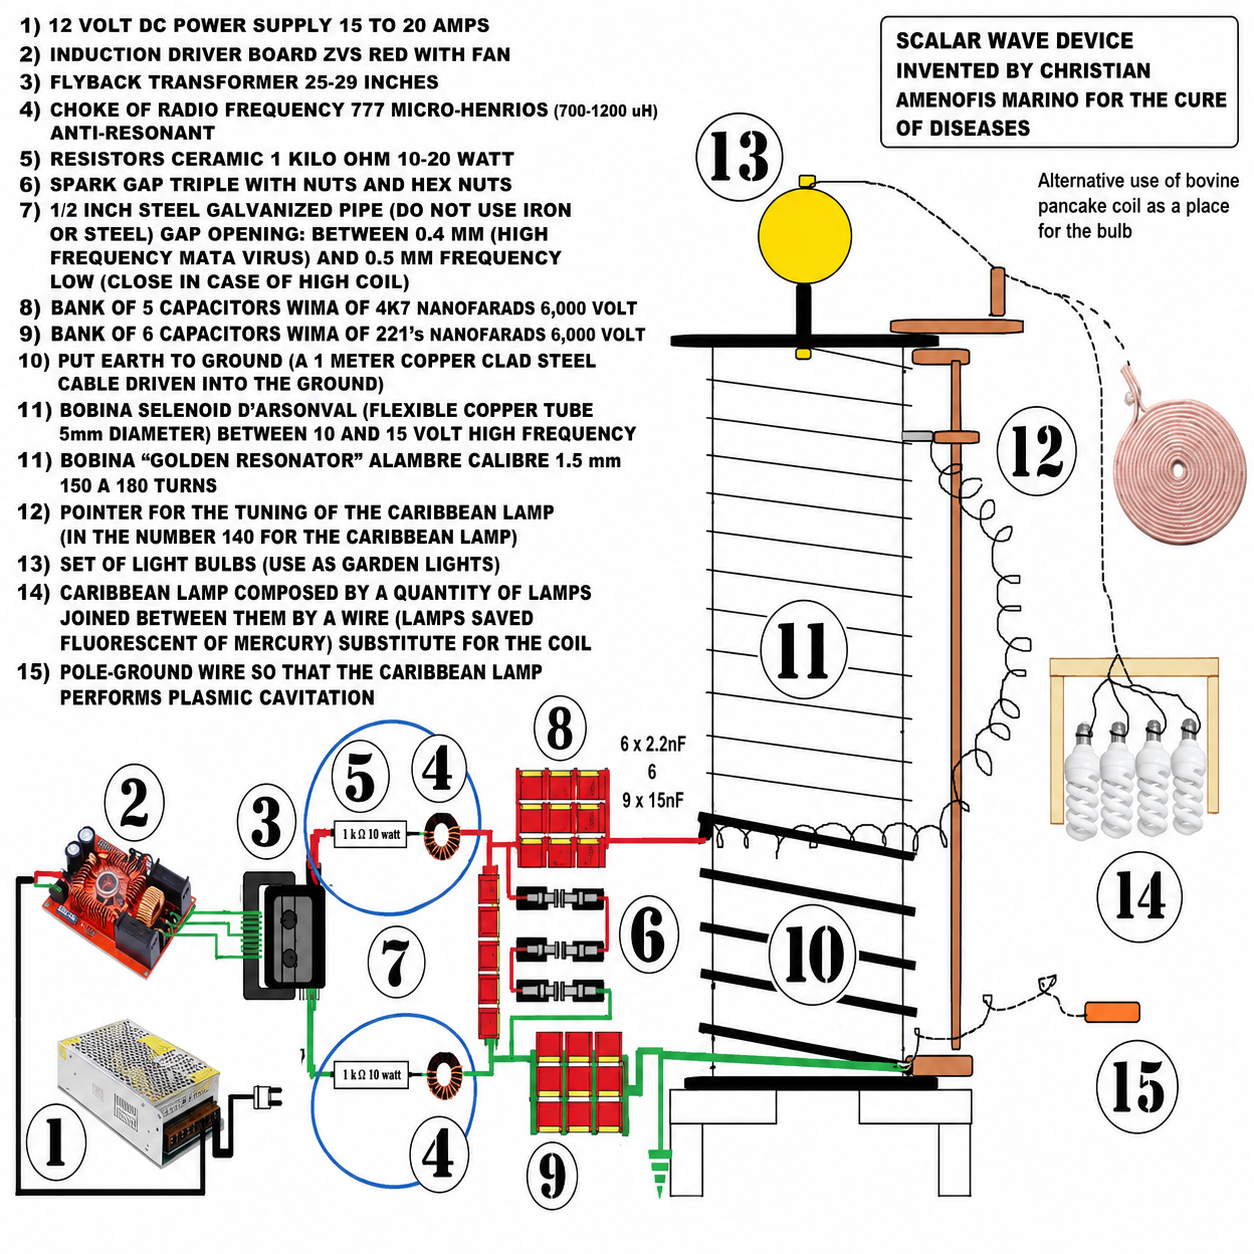
The complete guide to HOW TO BUILD THE SCALAR MACHINE 💥
Build Guide — open on Odysee
Very Important
VERY IMPORTANT: THE SCALAR MACHINE CAN INTERFERE WITH ELECTRONIC DEVICES (pacemakers, insulin pumps, cochlear implants).
Here is a video that walks you through building the scalar machine step by step. All the information in this video is accurate.
The original recording is in Spanish with English subtitles.
This video is a great complement to the blueprint (PDF). It's always helpful to have different ways to understand things.
English voiceover version below
Part 1 - English voiceover of the video above
Part 2 - English voiceover of the video above
How to make a Tesla coil pancake.
How to build the spark gap
This spark gap design was created by Sander, a member of the community. It is currently one of the simplest methods for building a spark gap. It uses zinc rods (which are recommended) rather than galvanized screws, so there is no need to replace screws every month, as this would normally depend on how many hours the machine is used.
This spark gap is powerful and can significantly increase the output power, making the machine quite intense. Some sparks may be felt here and there. To manage this, it is strongly recommended to use 4.7 nF capacitors to reduce the output power.
Instruction how to build spark gap by Sander
Spark Gap Build Instructions — open on Odysee
Adjusting the spark gap between 0.4 mm and 0.5 mm allows you to increase or decrease the power: around 0.4 mm the output is gentler, while around 0.5 mm it becomes more intense.
Instead of adding a fiberglass backing, another option is to use a standard electrical box and mount the spark gap directly onto it. The only minor drawback is that the plastic may flex slightly when adjusting the gap. Securing the bottom support first and then the top, however, keeps everything stable and works very well.
How to build the black hole ⚫️
How to wind the flyback
Quick reference
- 4 turns clockwise
- 4 turns clockwise
- The 2 middle wires connect to the center of the ZVS board
- The top and bottom wires can be connected to the left or the right side, it doesn't matter.
How to find the negative pin in the flyback
Spanish
English
PVC processing tips!
Here's a short video with some tips for processing PVC pipe, and what else you can do with it to make building easier. – by Hillbilly
3D printable Sanders Spark gap (video + files)
Everyone is free to use this design as they see fit, but do not alter it! The 3D printed Spark gap features optimal air ventilation in this design. Have fun with it, everyone!
The STL files for the 3D printer:
Image / Files
STL Files for 3D Printer — open on Odysee
Lamp saver
To repair your lamp, but also to make it just a little bit stronger! – by Hillbilly
3D print file for the Lamp-Saver
Image / File
Lamp-Saver 3D Print File — open on Odysee
Capacitor Suppliers
In USA: WIMA CAPACITORS distributor: